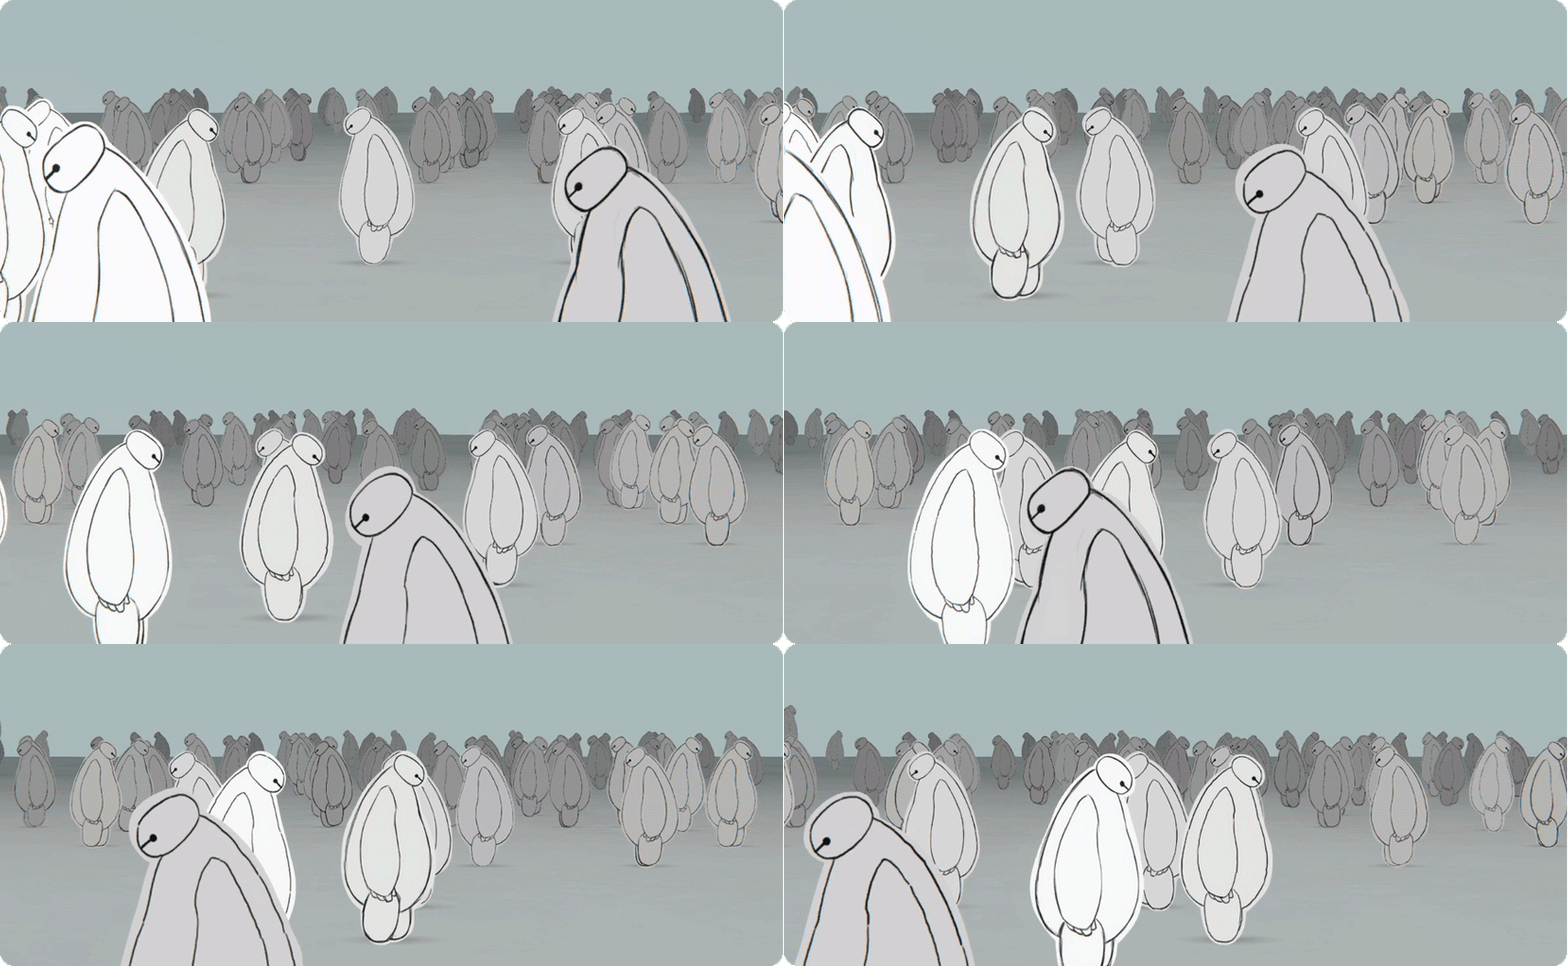
Through uv combined with animation and other methods to achieve crowds with different states, such as different heights, different colors, different animation playback speeds, different crowd space gaps, etc., and the linerenderer can be used to plan the path. Limitations: the best effect on the plane, and can not have too much tilt angle
Using a sequence of frame animation drawn before for demonstration.

IMPLEMENTATION:
The key is to use the value of the world coordinate x as the uv.x value. The rest of the effects roughly expand from here.
-
Set the x-axis of the world coordinate as
uv.x, and keep uv.y unchanged for the time being. This allows you to change the width at will without affecting the number of columns.Because
uv.yis unchanged, you can use linerenderer to do the effect of uphill and downhill.
.png)

-
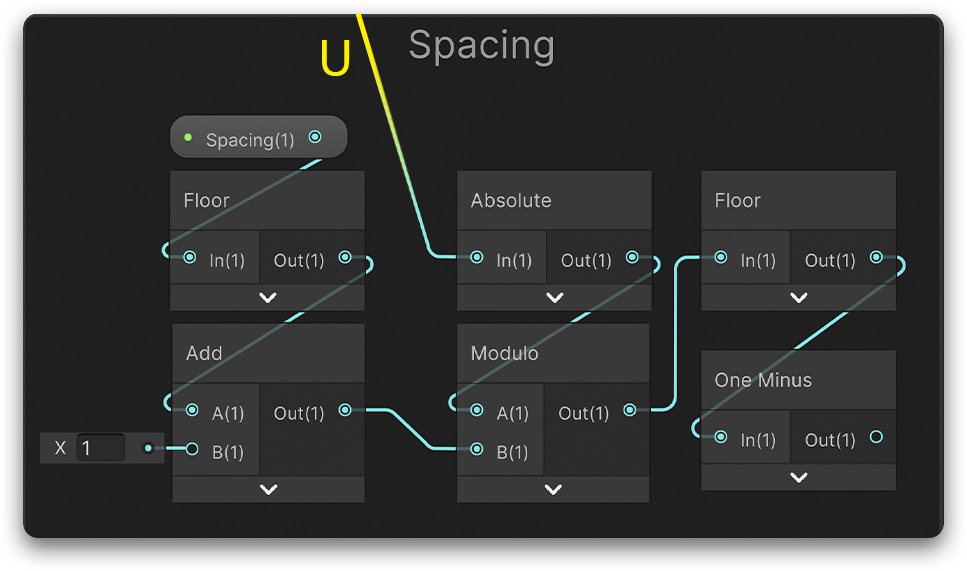
After taking the modulo of the
uv.xobtained in the previous step, it can be used as a transparent channel to represent the interval (remember to take the absolute value)

-
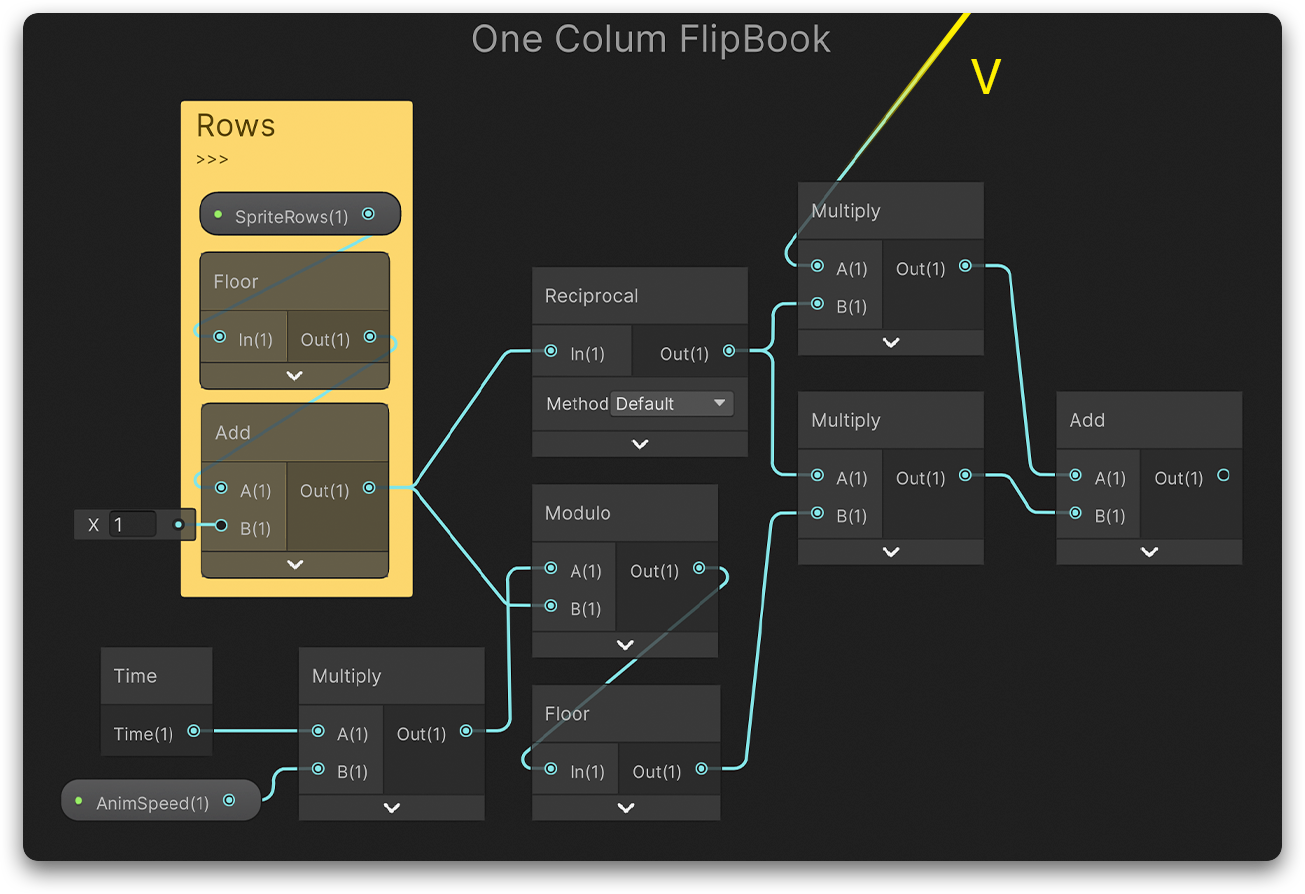
Adding sequence animation requires modifications to
uv.y. This method recommends that the number of rows of the sprite sheet be 1 (if the number of rows is not 1, the interval should be a multiple of 2). Sequence frame animation can be obtained by simple calculations such as modulo.

EXTENDS:
Use the integer part of the u obtained in the implementation method 1 to make random, and then use lerp to randomize the various values in the shader, thereby simulating the randomness of the crowd (or objects).
Because uv.x is rounded and then random, it can ensure that each column is assigned a random value.
E.g:
-
Random height scaling can be done before
uv.ydoes various calculations (the degree of scaling depends on how much space is above each frame in the sprite sheet) -
Sprite sheets can use this to add an offset to make the playback order and speed different.
-
The interval and color can also be random
-
Each instance can also be offset and randomized based on
world position.Object positioncan be used, but not when using linerenderer, because itsobject positionis the origin of world coordinates (0, 0, 0).When using the linerenderer, you can directly use the z of the world position for offset or randomization, provided that these objects are in the same direction as the z-axis (sometimes there may be flickering, especially when the camera changes focus or z-direction displacement occurs. Solution:
floororceil(a*positionWS.z)) -
The advantage of using linerenderer is that the path can be edited, and the operation is convenient, but it is not very convenient to deal with randomness.
You can make a simple model according to your needs and use vertex color to do the position offset. This allows for simple up and down slopes, and even a little offset from the z-axis has a good effect.
-
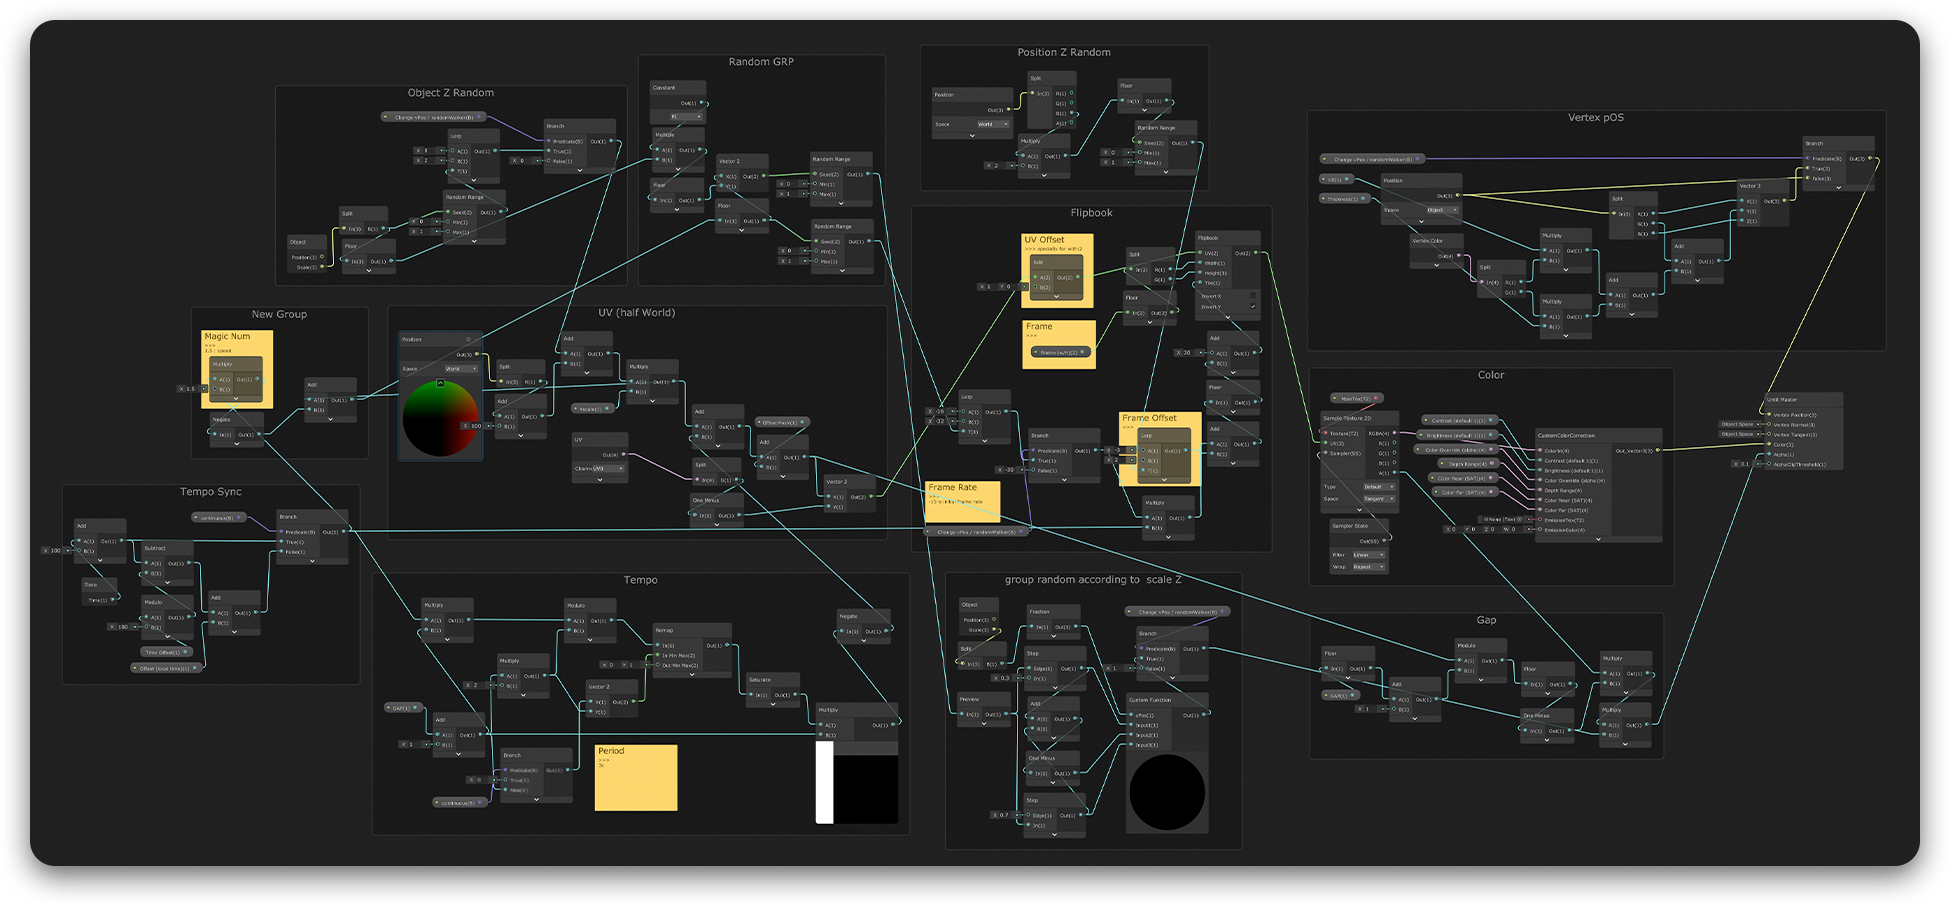
The final integrated shadergraph:
